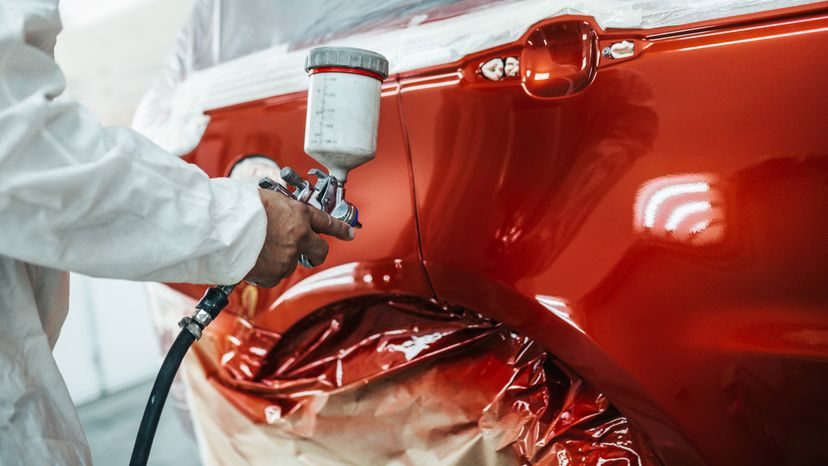
A scratch is annoying. A ding that exposes bare metal is worse. The goal is always to make the repair invisible. This requires a color match so precise it tricks the eye. Easy for a new car. Hard for a ten-year-old sedan where clear coats have faded and oxidized. You need to understand the chemistry before you pick up a spray gun.
The Chemistry Behind Automotive Paint
Cars don’t just wear a coat of colored dust. They wear a chemical shield. Every automotive paint job relies on three core components.
Resin is the binder. It dictates durability. Without enough resin, the paint chips off at the first stone strike. It also determines application quality.
Solvent controls viscosity. It thins the mixture so it flows through a spray nozzle correctly. Too thick, and you get orange peel texture. Too thin, and it runs.
Pigment is the color. It arrives as a powder toner. Technicians mix these powders with the resin and solvent base to create the exact finish.
Locating Your Original Paint Code
You can’t mix the right color if you don’t know what the factory used. Guessing leads to mismatched panels. You need the specific code.
- Find the Identification Plate. This is often called the Service Parts Identification label. It is usually located in the engine bay or on the driver’s side door jamb.
- Check Manufacturer Resources. If you know the make, model, and year, some manufacturers list paint codes online. This works better for newer vehicles. Older cars might not have digital records.
- Account for Two-Tone Paints. Many vehicles have contrasting roof colors or trim accents. You might need two separate codes to get the full picture.
Take this code to an auto body supply shop. They can pull the base formula. But raw code isn’t always enough for a perfect match.
The Art of Color Blending
Even with the correct code, a perfect match is rarely guaranteed. Sun exposure alters the original hue. Dirt and washing history change the surface reflectivity. You have to adjust.
Start with lightness and darkness. Get the value close. Then tweak the hue. This is where experience matters. You are balancing variables. A slight shift in tone can make a repair look like a bandage.
Blending is non-negotiable. Even if the spot looks close, blend it.
Spot repairing demands precision. You cannot leave a hard edge where the new paint meets the old. The transition must be gradual. If the repaired area is too light or too dark, the eye catches it immediately. The goal is camouflage. Not correction. The color must disappear into the surrounding panel.